Rolling, Cutting & Baking
Rolling
Let the chilled dough rest at room temperature for at least 30 min. The dough should be cool but not cold to touch. Letting the dough rest in the refrigerator does two things; 1. It firms up the fat making the dough easier to handle. 2. It relaxes the gluten making more tender cookies.
My preference for rolling out the dough is to use a non stick silicon baking mat. The silicon mat not only provides a great reusable non-stick surface for baking, but the mat also sticks to the counter making it easier to rollout the dough.
Start by forming the dough into a rectangular shape. Give the dough a light dusting of flour to prevent the rolling pin from sticking.
Start in the center of the dough and roll outwards. Work your way around the dough towards the edge of the mat with outward even strokes. Keep in mind that the dough becomes tougher the more you roll and re-roll. The more flour you add will also make the cookies drier and tougher.
Work efficiently and with the least amount of excess flour possible. The dough should also be as level as possible at this point. If the cookies are uneven it will create problems with overflow while decorating the cookies. There are a few items out there that can help with this. Sets of bands that are placed on the ends of your rolling pin are one helpful solution, the bands usually come in five thicknesses ranging from 1/16” - 1 /2”. The bands are helpful but can also be problematic when rolling since the bands are limiting your ability to roll larger pieces of dough, keep your batches small and these little bands will work well.
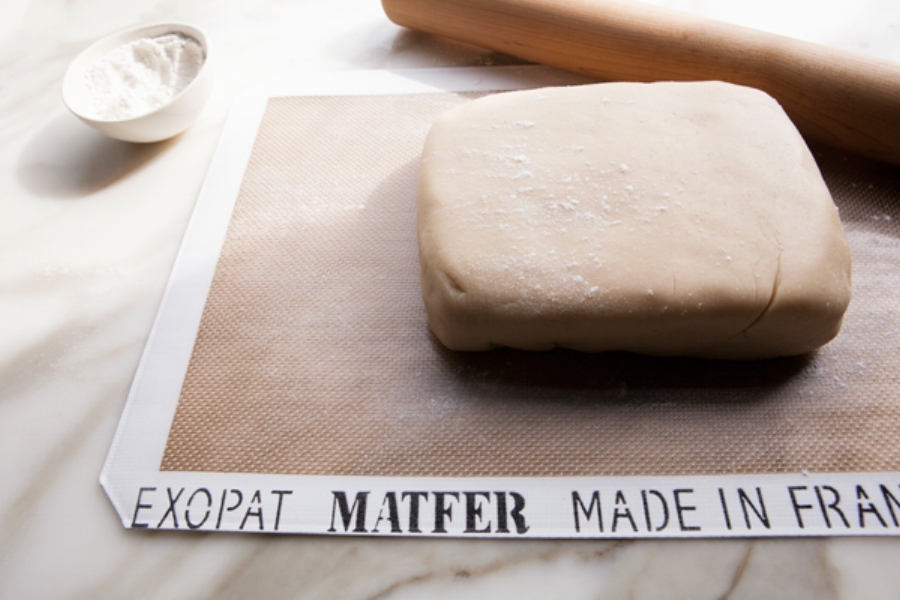
Forming the dough into a rectangular shape. Give the dough a light dusting of flour to prevent the rolling pin from sticking.
Cutting
Once the dough is rolled out to the desired thickness (either 1/8 - 1/4 inch thickness) you can begin cutting your shapes. It is also a good idea to dust the cutter with flour if you are having issues with the dough releasing properly. To dust the cutter, place an ample amount of flour on a plate. Cut into your dough once or twice and then dip the cutter into the flour and gently tap it on the side of the plate to release the excess flour from the cutter. Priming the cutter in this way helps keep the flour attached to the cutting surface and in turn helping to release the dough when cutting out your cookies.
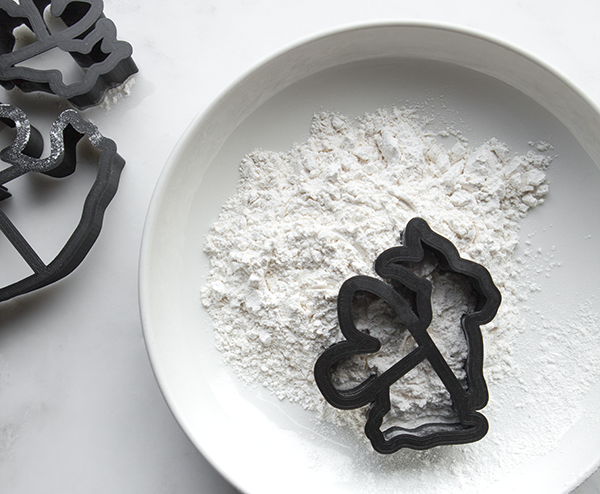
To dust the cutter, place an ample amount of flour on a plate. Dip the cutter into the flour and gently tap it on the side of the plate to release the excess flour from the cutter.
With the bigger cutters, it works best to cut the dough in place on the silicone mat and remove the excess dough. This allows the cookies to remain intact before baking.

With the bigger cutters, it works best to cut the dough in place on the silicone mat and remove the excess dough.

Once you have cut your cookies into desired shapes and removed excess dough, transfer entire silicone mat to baking sheet.
Dough temperature can be a problematic when using large intricate cutters. If the dough is too cold it will be difficult to cut, and will not release nicely from the cutter. If the dough is too warm you will see a lot of tearing—pieces of dough will tear off and be left in the cutter.
If the dough is overworked, and contains excess flour there will be a layering effect that happens, which can result in cracking and tearing as well. It is best to cut as many cookies in a single roll out as possible to avoid temperature issues and problems that arise from overworking the dough.
Baking
Cookies are baked at 300° F. Baking time will vary depending on the thickness of your cookies, generally 10-12 minutes for cookies 1/8 - 1/4 inch thick. Visually, the cookies should have a light golden tint on the edges, and appear light in color at the center. If they are not cooked completely through you will notice a darker doughy looking center.
If the cookies are darkening quickly on the edges and the center is not completely cooked your oven temperature may be off slightly. A good investment is a commercial quality thermometer. This can be placed on the rack next to sheet pans for an accurate temperature reading.